Cost & Buying Guides
DIY Epoxy Kits vs. Professional Diamond Grinding: Is Saving $1,000 Worth It?
DIY epoxy kits promise big savings but skip the most critical step: surface preparation. Here's why professional diamond grinding makes all the difference.
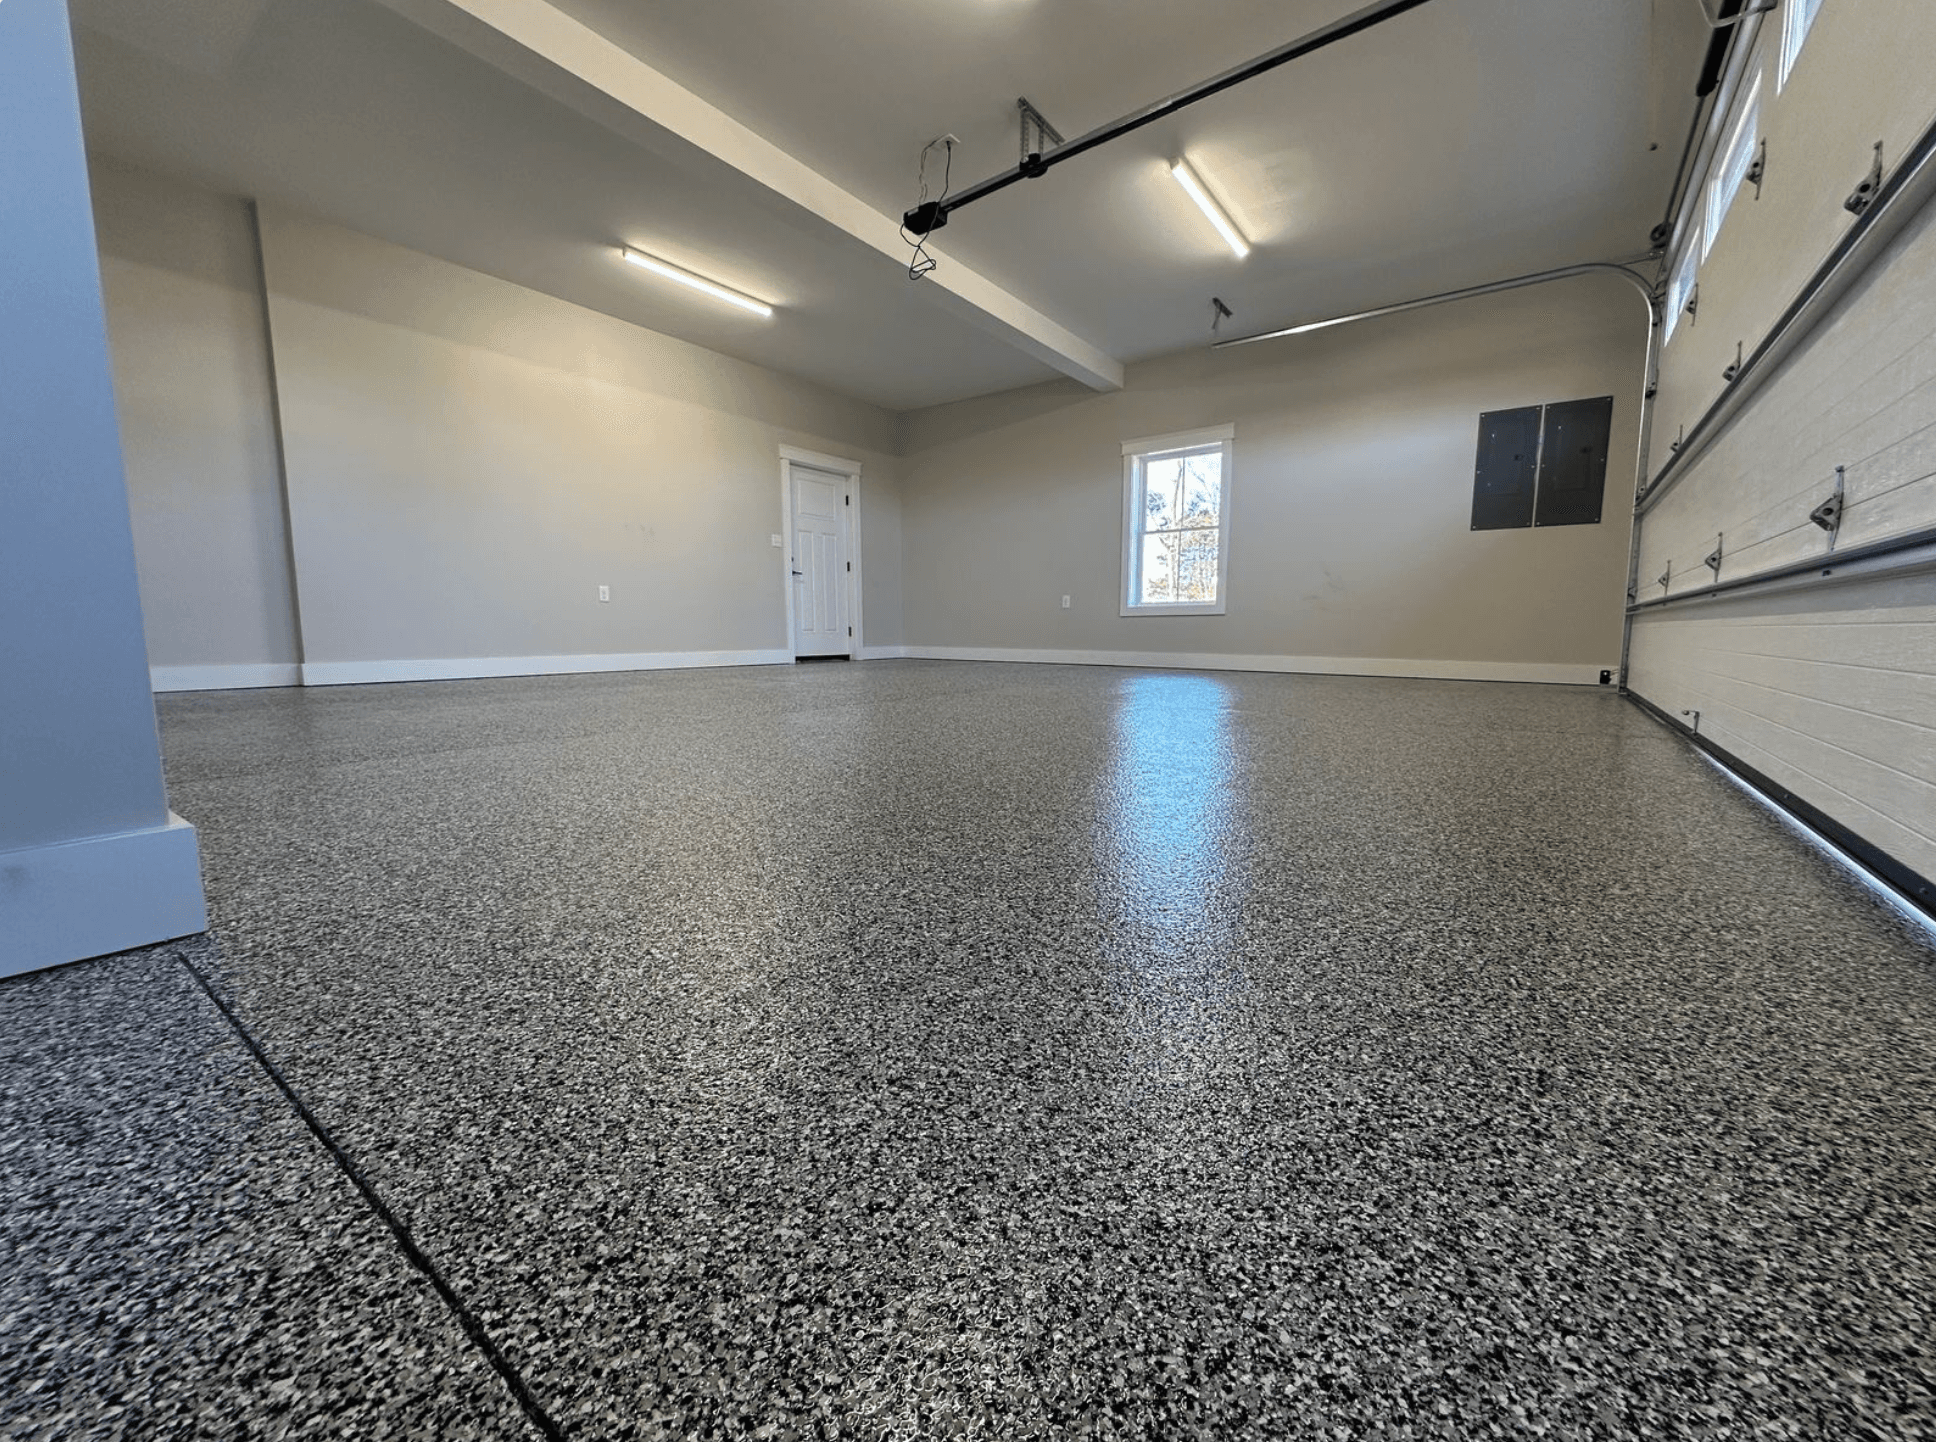
The $150 Temptation
Walk into any home improvement store in Tampa Bay and you'll see them: epoxy garage floor kits for $150–$500. The box shows a gleaming, showroom-quality floor. The instructions make it look easy. And the price difference versus professional installation ($1,800–$5,000) is tempting.
But here's what the box doesn't tell you: surface preparation is 80% of a successful epoxy installation, and DIY kits give you almost zero prep capability.
Surface Preparation: The Step That Determines Everything
Concrete floor coating adhesion depends entirely on the surface profile — the texture of the concrete at a microscopic level. For epoxy to bond properly, the concrete needs a specific profile that gives the coating something to grip.
There are two ways to achieve this:
- Acid Etching (DIY method): Muriatic or citric acid is applied to "etch" the surface. It's messy, dangerous, and inconsistent. Acid can leave residue that actually prevents bonding. It doesn't remove existing coatings, sealers, or contaminants. And it does nothing for cracks, spalling, or uneven areas.
- Diamond Grinding (Professional method): Industrial diamond grinders mechanically remove a thin layer of concrete, creating a uniform surface profile. This removes old coatings, sealers, oil stains, and contaminants while opening the concrete's pores for maximum adhesion.
What Happens When DIY Epoxy Fails
We see failed DIY epoxy jobs every month in Tampa Bay. The pattern is always the same:
- Months 1–3: Floor looks great. Homeowner is happy they saved money.
- Months 4–8: Hot tire pickup begins. Coating starts peeling where car tires rest.
- Months 9–12: Moisture blistering appears. Bubbles form under the coating from vapor pressure.
- Months 12–18: Large sections delaminate. The floor looks worse than bare concrete.
- The fix: Complete removal of failed coating ($2–$4 per sq. ft.) + professional installation. Total cost now exceeds what professional installation would have been originally.
What Professional Installation Includes That DIY Doesn't
When you hire Tampa Bay Concrete Coatings, here's what you're paying for:
- Industrial diamond grinding with HEPA dust extraction
- Crack repair and joint filling with semi-rigid epoxy filler
- Moisture vapor transmission testing
- Moisture-vapor barrier primer (critical in Florida)
- Industrial-grade 100% solids epoxy or polyaspartic coating (not water-based box-store formula)
- Full-flake broadcast to rejection (not sparse decorative flakes)
- UV-stable polyaspartic topcoat
- 15-year written warranty
- Post-installation inspection and care instructions
The Warranty Difference
DIY kits come with no meaningful warranty. If the floor fails — and in Florida, it probably will — you're on your own. Professional installation from Tampa Bay Concrete Coatings includes a 15-year warranty that covers peeling, delamination, and hot-tire pickup.
That warranty is only possible because we control every variable: surface prep, moisture mitigation, material quality, and application technique.
The Verdict
If you want a floor that looks good for 6–12 months and you're willing to redo it when it fails, a DIY kit might work. But if you want a floor that lasts 15–20 years and actually enhances your home's value, professional installation is the only choice.
Ready to do it right? Call (727) 743-7242 for your free estimate.
Garrett Allen
Owner & Lead InstallerGarrett Allen is the owner and lead installer at Tampa Bay Concrete Coatings. With over 20 years of hands-on experience, he has installed thousands of epoxy, polyaspartic, metallic resin, and polished concrete floors across Tampa, St. Petersburg, Clearwater, and the surrounding Tampa Bay communities.
- 20+ years in concrete coatings and surface preparation
- Specialist in Florida climate challenges: moisture vapor, UV exposure, and hot-tire pickup
- Diamond grinding, moisture testing, and premium system installation
- 15-year written warranty on professional installations
Ready to discuss your project?
Get practical recommendations and a free estimate from Tampa Bay Concrete Coatings.
You May Also Like
Cost & Buying Guides
How Much Does Epoxy Flooring Cost in Tampa Bay? (2026 Price Breakdown)
Florida Climate & Garage Floors
Why Standard Epoxy Fails in Florida Garages (And How Polyaspartic Solves Hot Tire Pickup)
Florida Climate & Moisture Testing